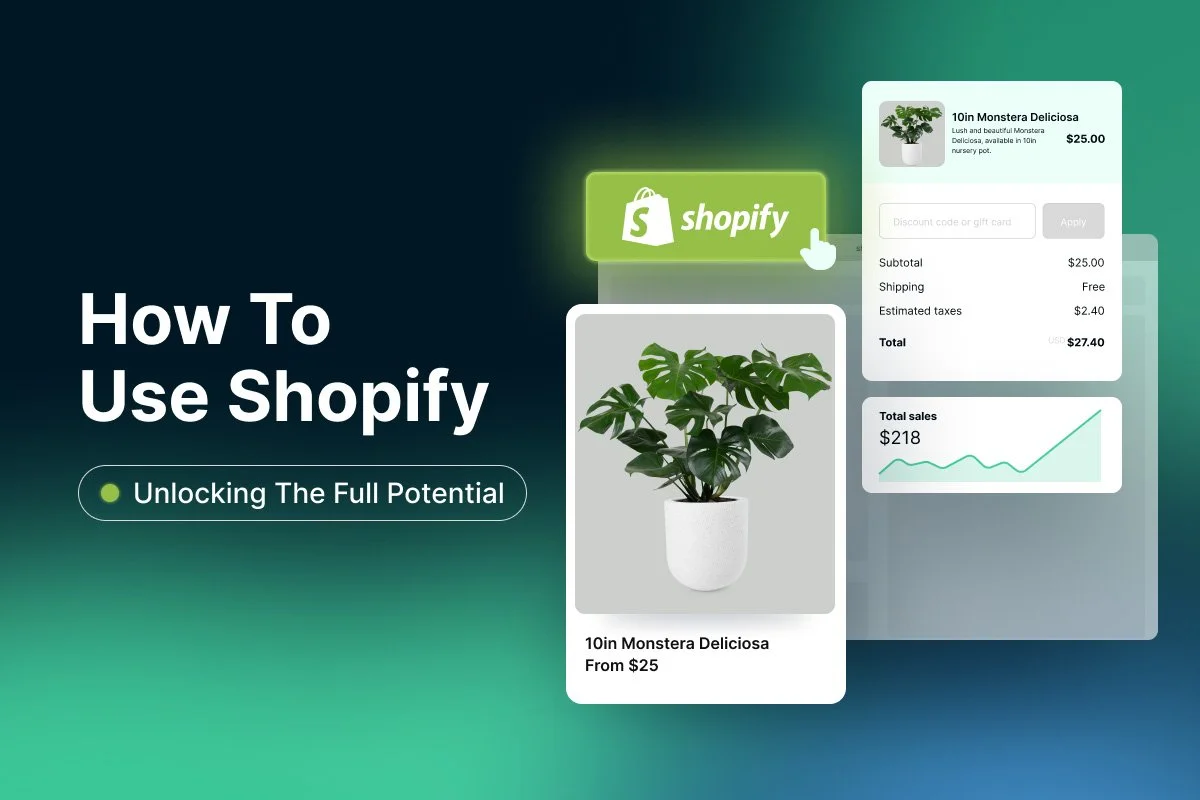
To learn more about Shopify check the YouTube channel.
🔷 Navigation Panel Overview
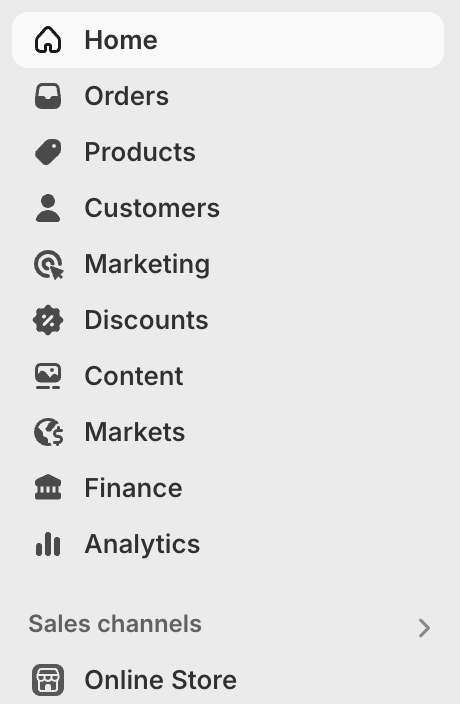
Home
Your store’s dashboard, quick overview of sales, recent activity, and alerts.
Orders
Manage all orders: view, fulfill, refund, and track statuses.
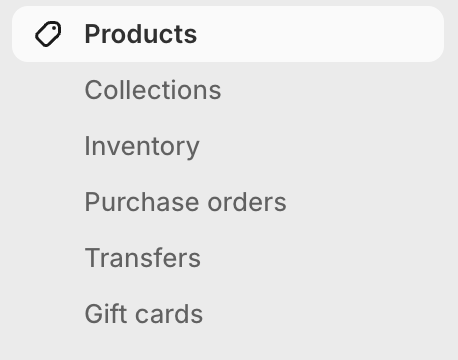
Products
Add, edit, and manage your product catalog, inventory, and variants.
Customers
View customer profiles, purchase history, and contact details.
Marketing
Launch and track campaigns: email promos, ads, and SEO tools.
Discounts
Create and manage discount codes, automatic discounts, and promotions.
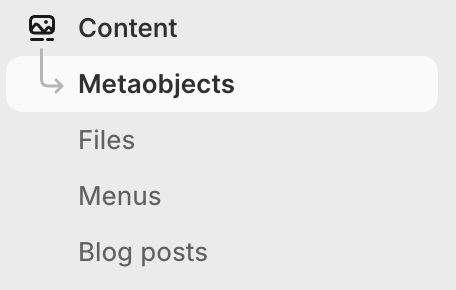
Content
(Or “Online Store” > “Pages/Blog”) Manage site pages, blog posts, and navigation.
Markets
Manage international markets: currencies, regions, and localization settings.
Finance
Review transactions, payouts, taxes, and payment providers.
Analytics
Access reports, dashboards, and store performance metrics.
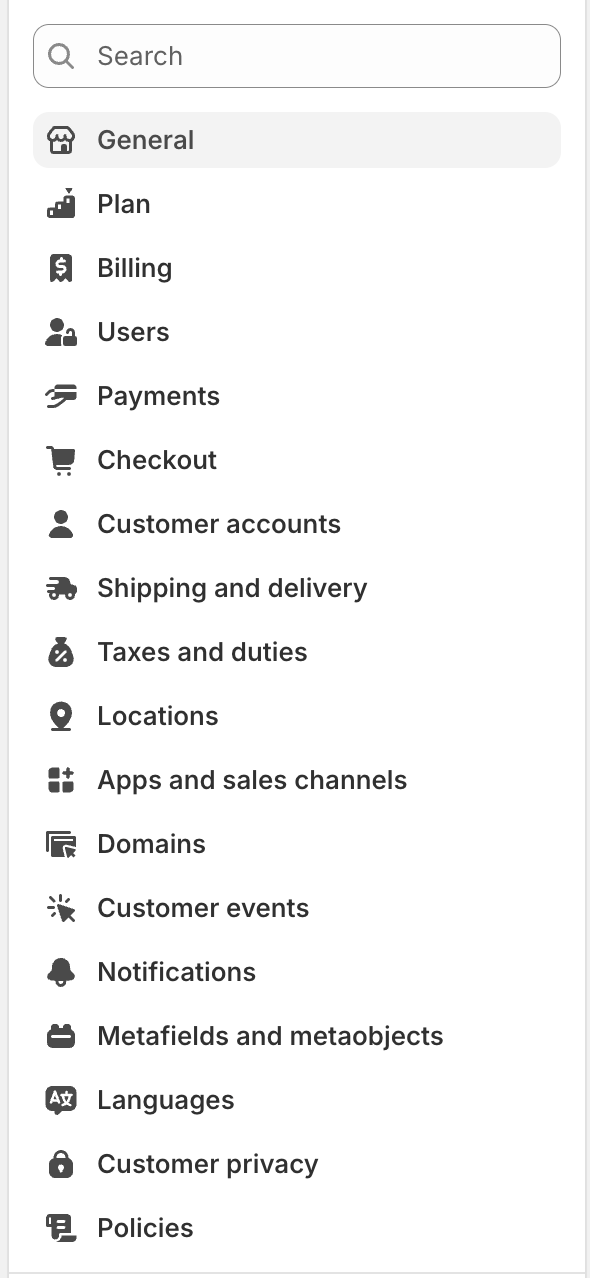
⚙️ Shopify Settings
General
Set your store name, email, address, time zone, and unit preferences.
Plan
View or change your Shopify plan. Only store owners (or those with permission) can pause or cancel the store.
Billing
Manage Shopify charges for the store, apps, and themes.
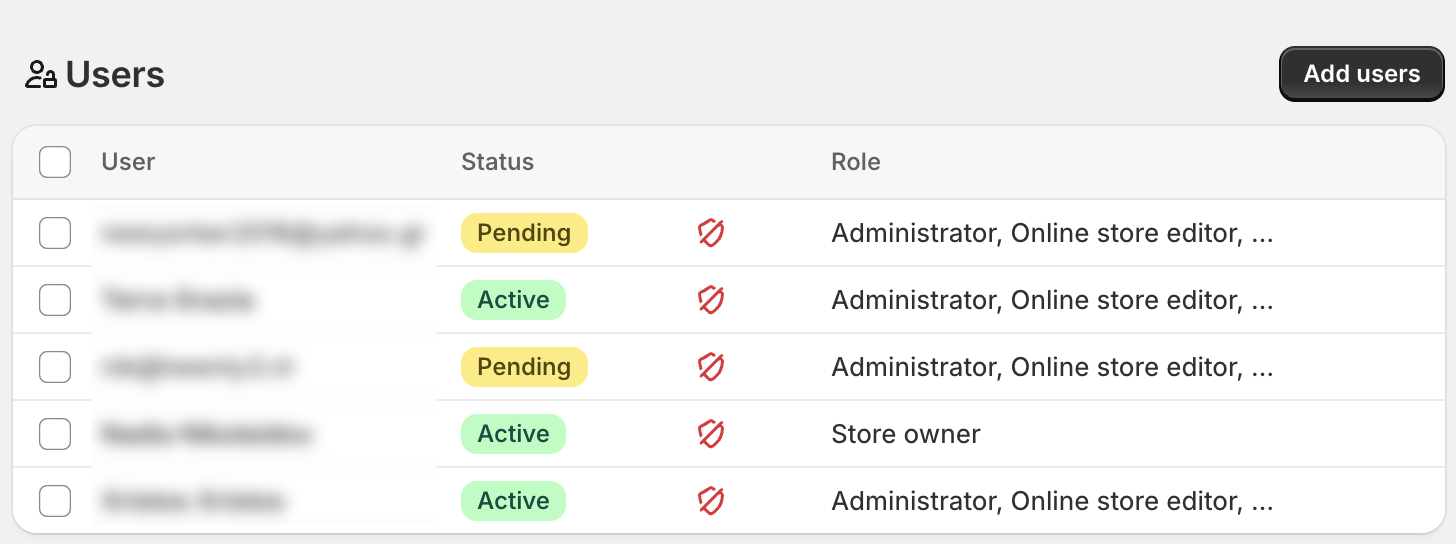
Users
Invite teammates, set roles & permissions for access control.
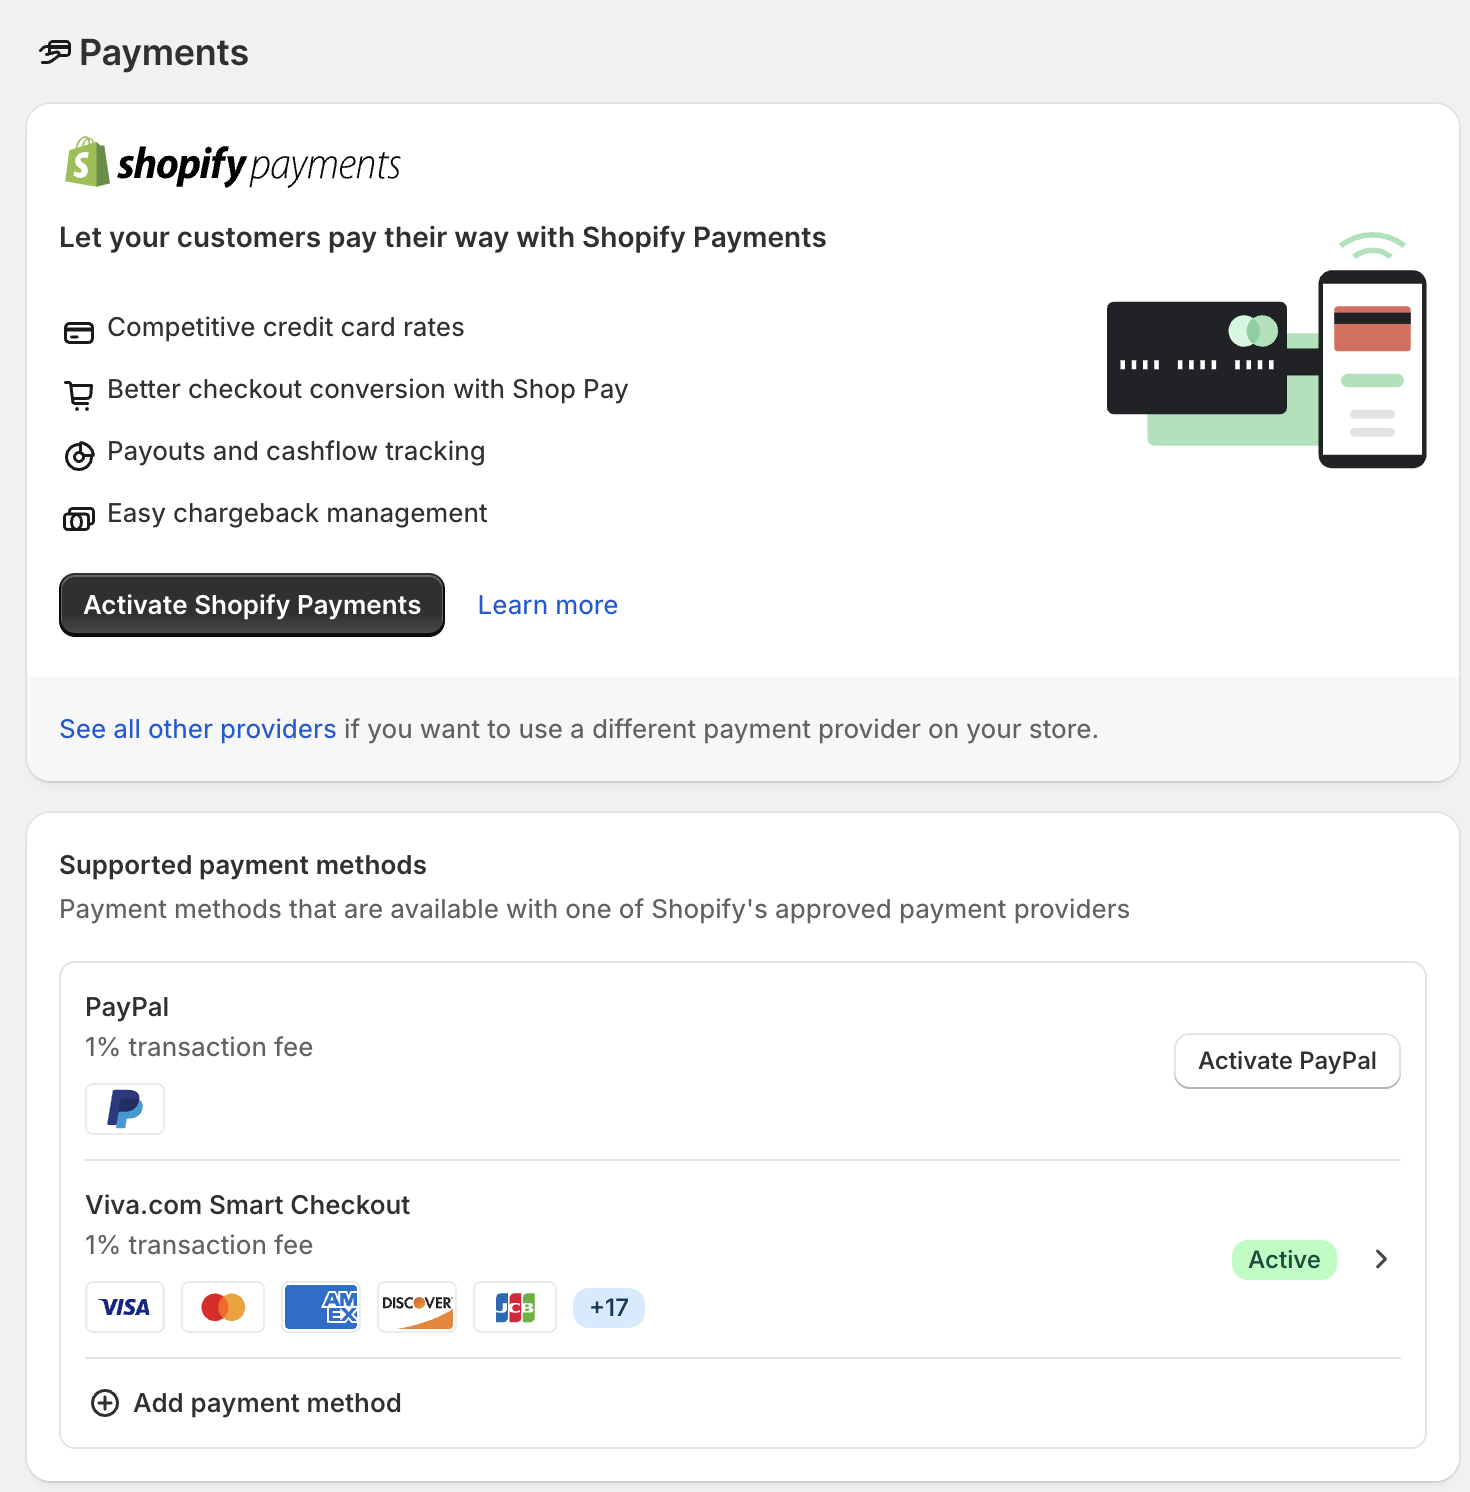
Payments
Configure payment providers (Shopify Payments, PayPal, Stripe, etc.) and payout options.
Checkout
Customize customer checkout experience: forms, contact methods, and branding.
Customer accounts
Enable or disable account creation, and configure login settings.
Shipping and delivery
Set shipping zones, rates, local delivery/pickup options.
Taxes and duties
Configure tax rates, duty settings, and tax regions.
Locations
Manage your warehouse/store locations for inventory and fulfillment.
Apps and sales channels
Install/manage apps and additional channels (e.g., POS, Facebook shop).
Domains
Connect or buy custom domains for your storefront.
Customer events
View customer-specific events like pixel tracking or account actions.
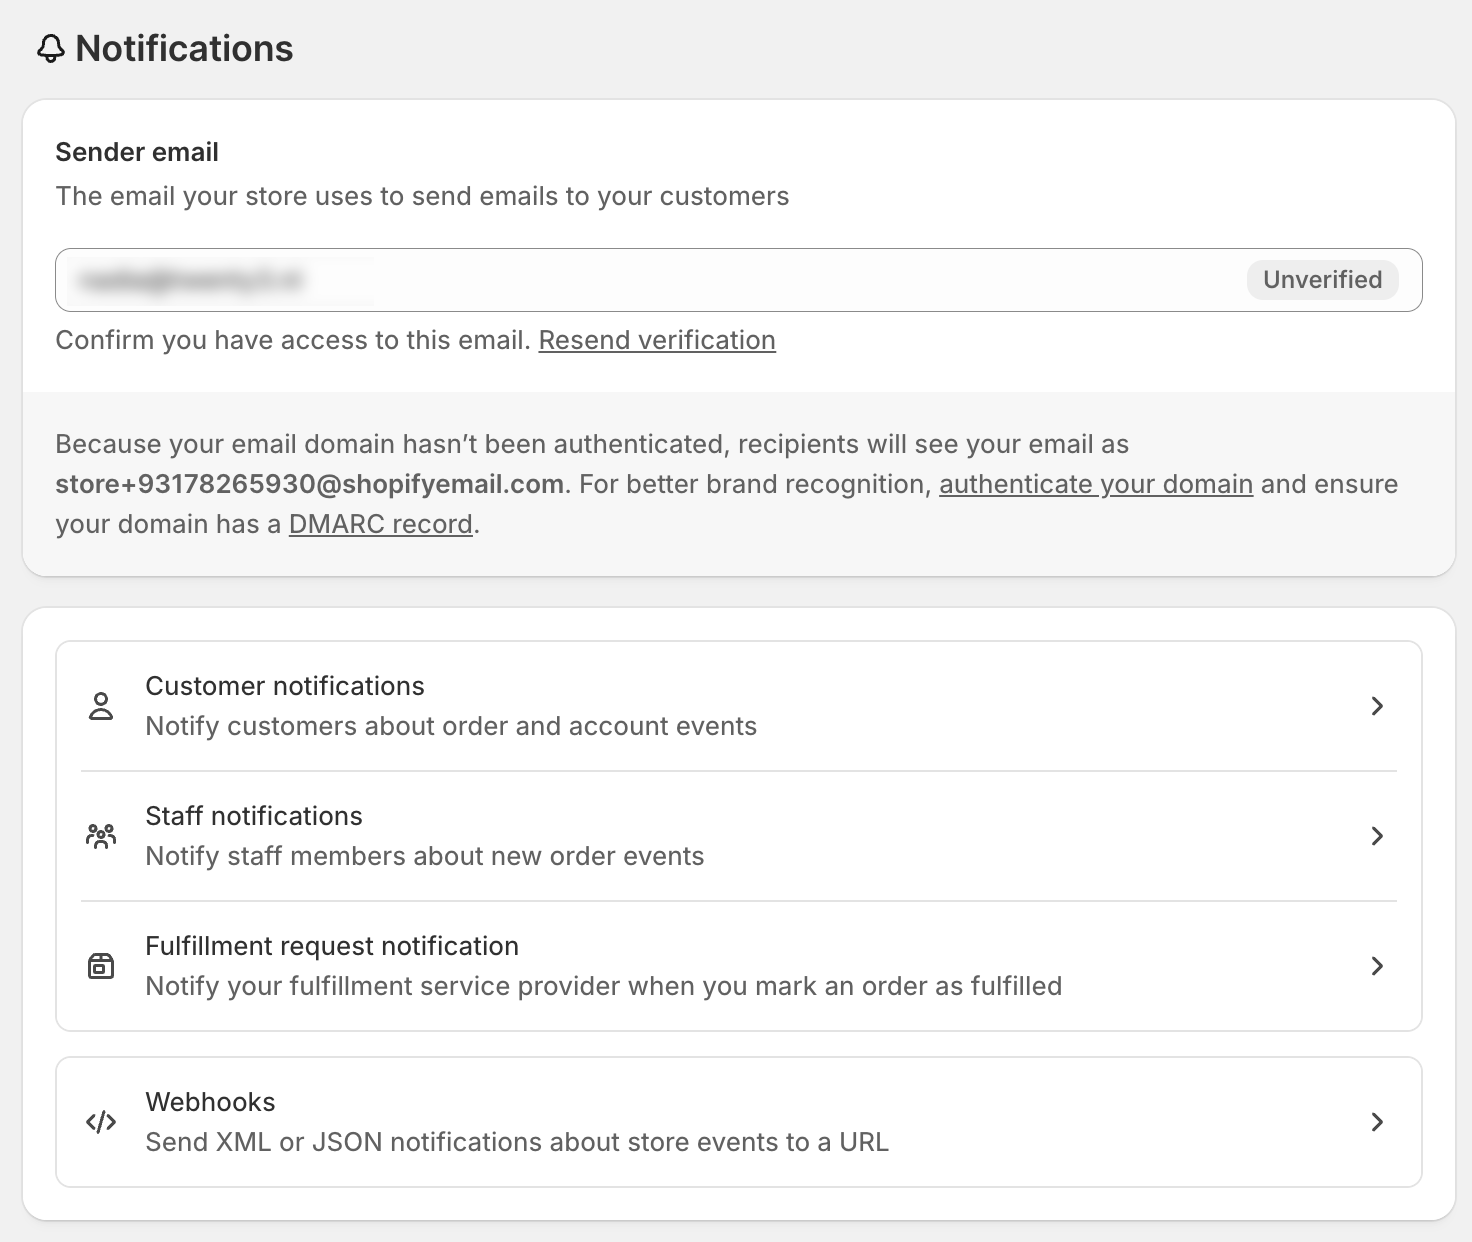
Notifications
Customize and review email/SMS templates for orders, shipping, and more.
Metafields and metaobjects
Add custom fields to products, customers, or other store objects.
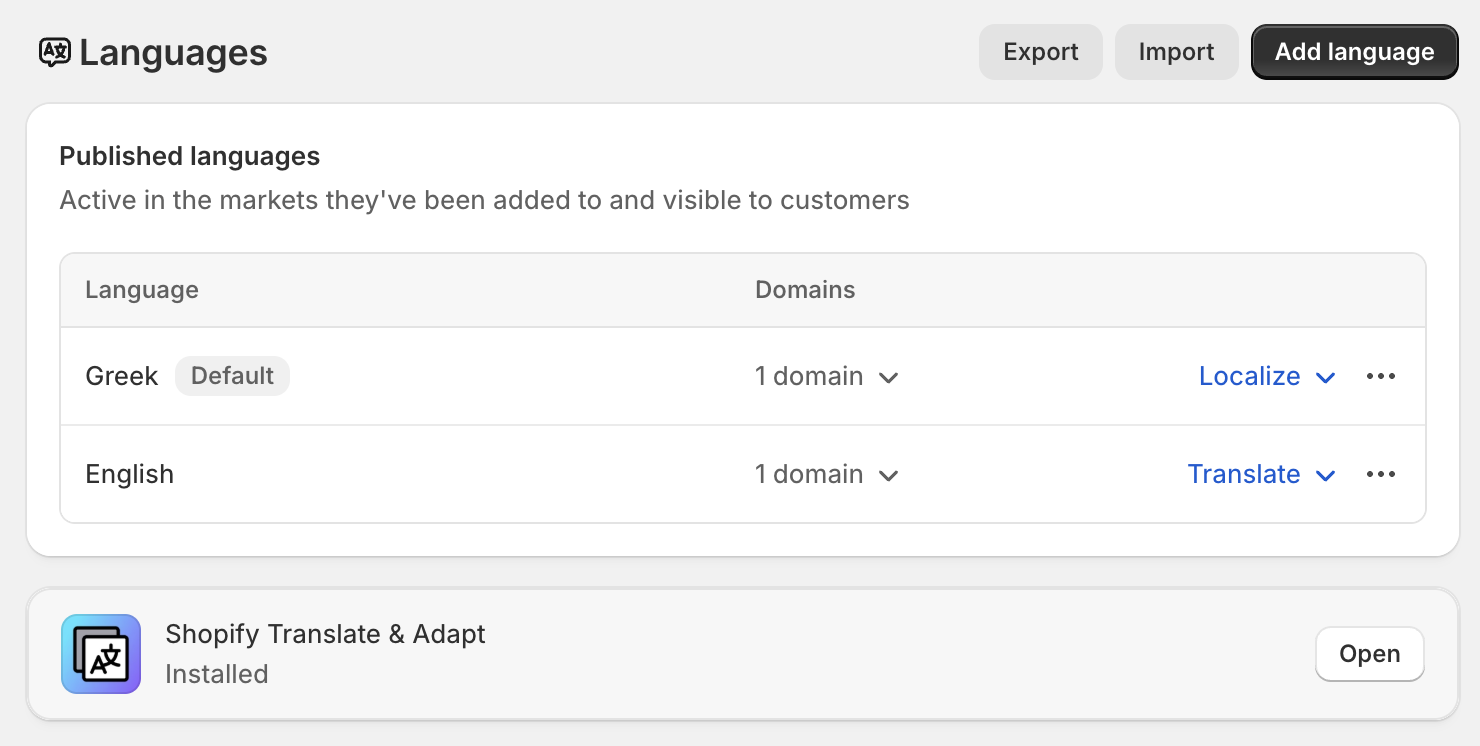
Languages
Add or edit storefront languages and translations.
Customer privacy
Configure GDPR compliance and data request settings.
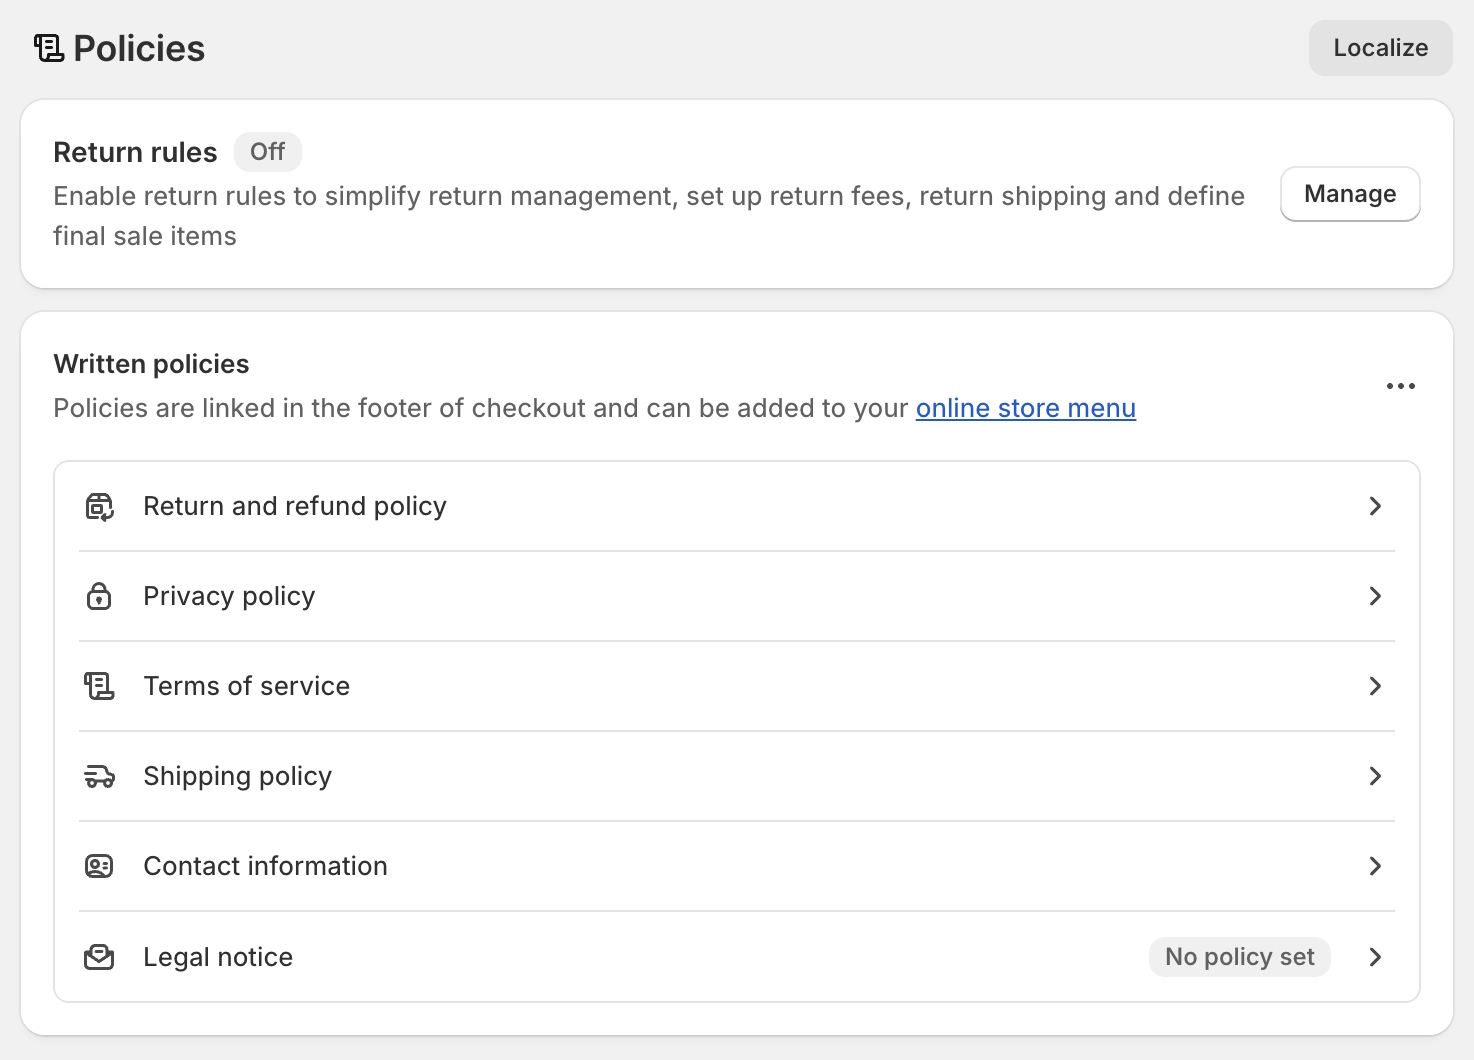
Policies
Manage your store’s legal pages (Refund, Privacy, Terms).
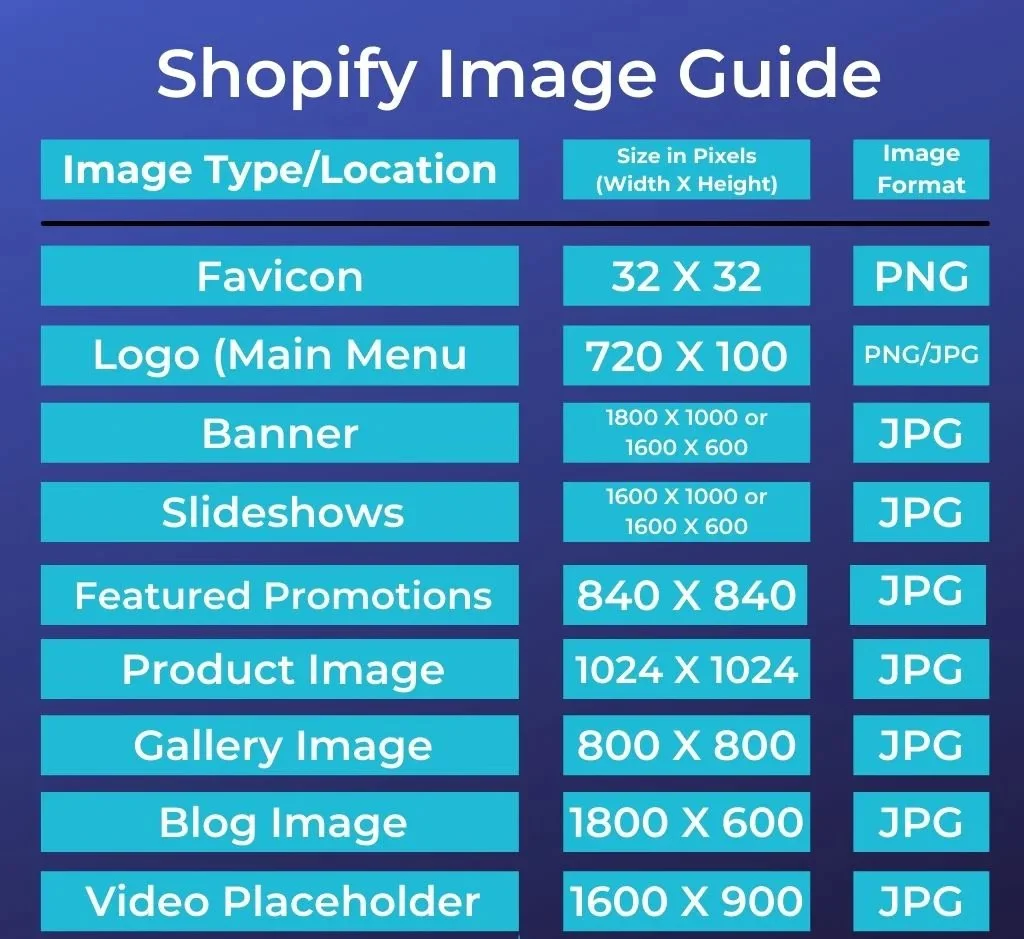
How you prepare the images
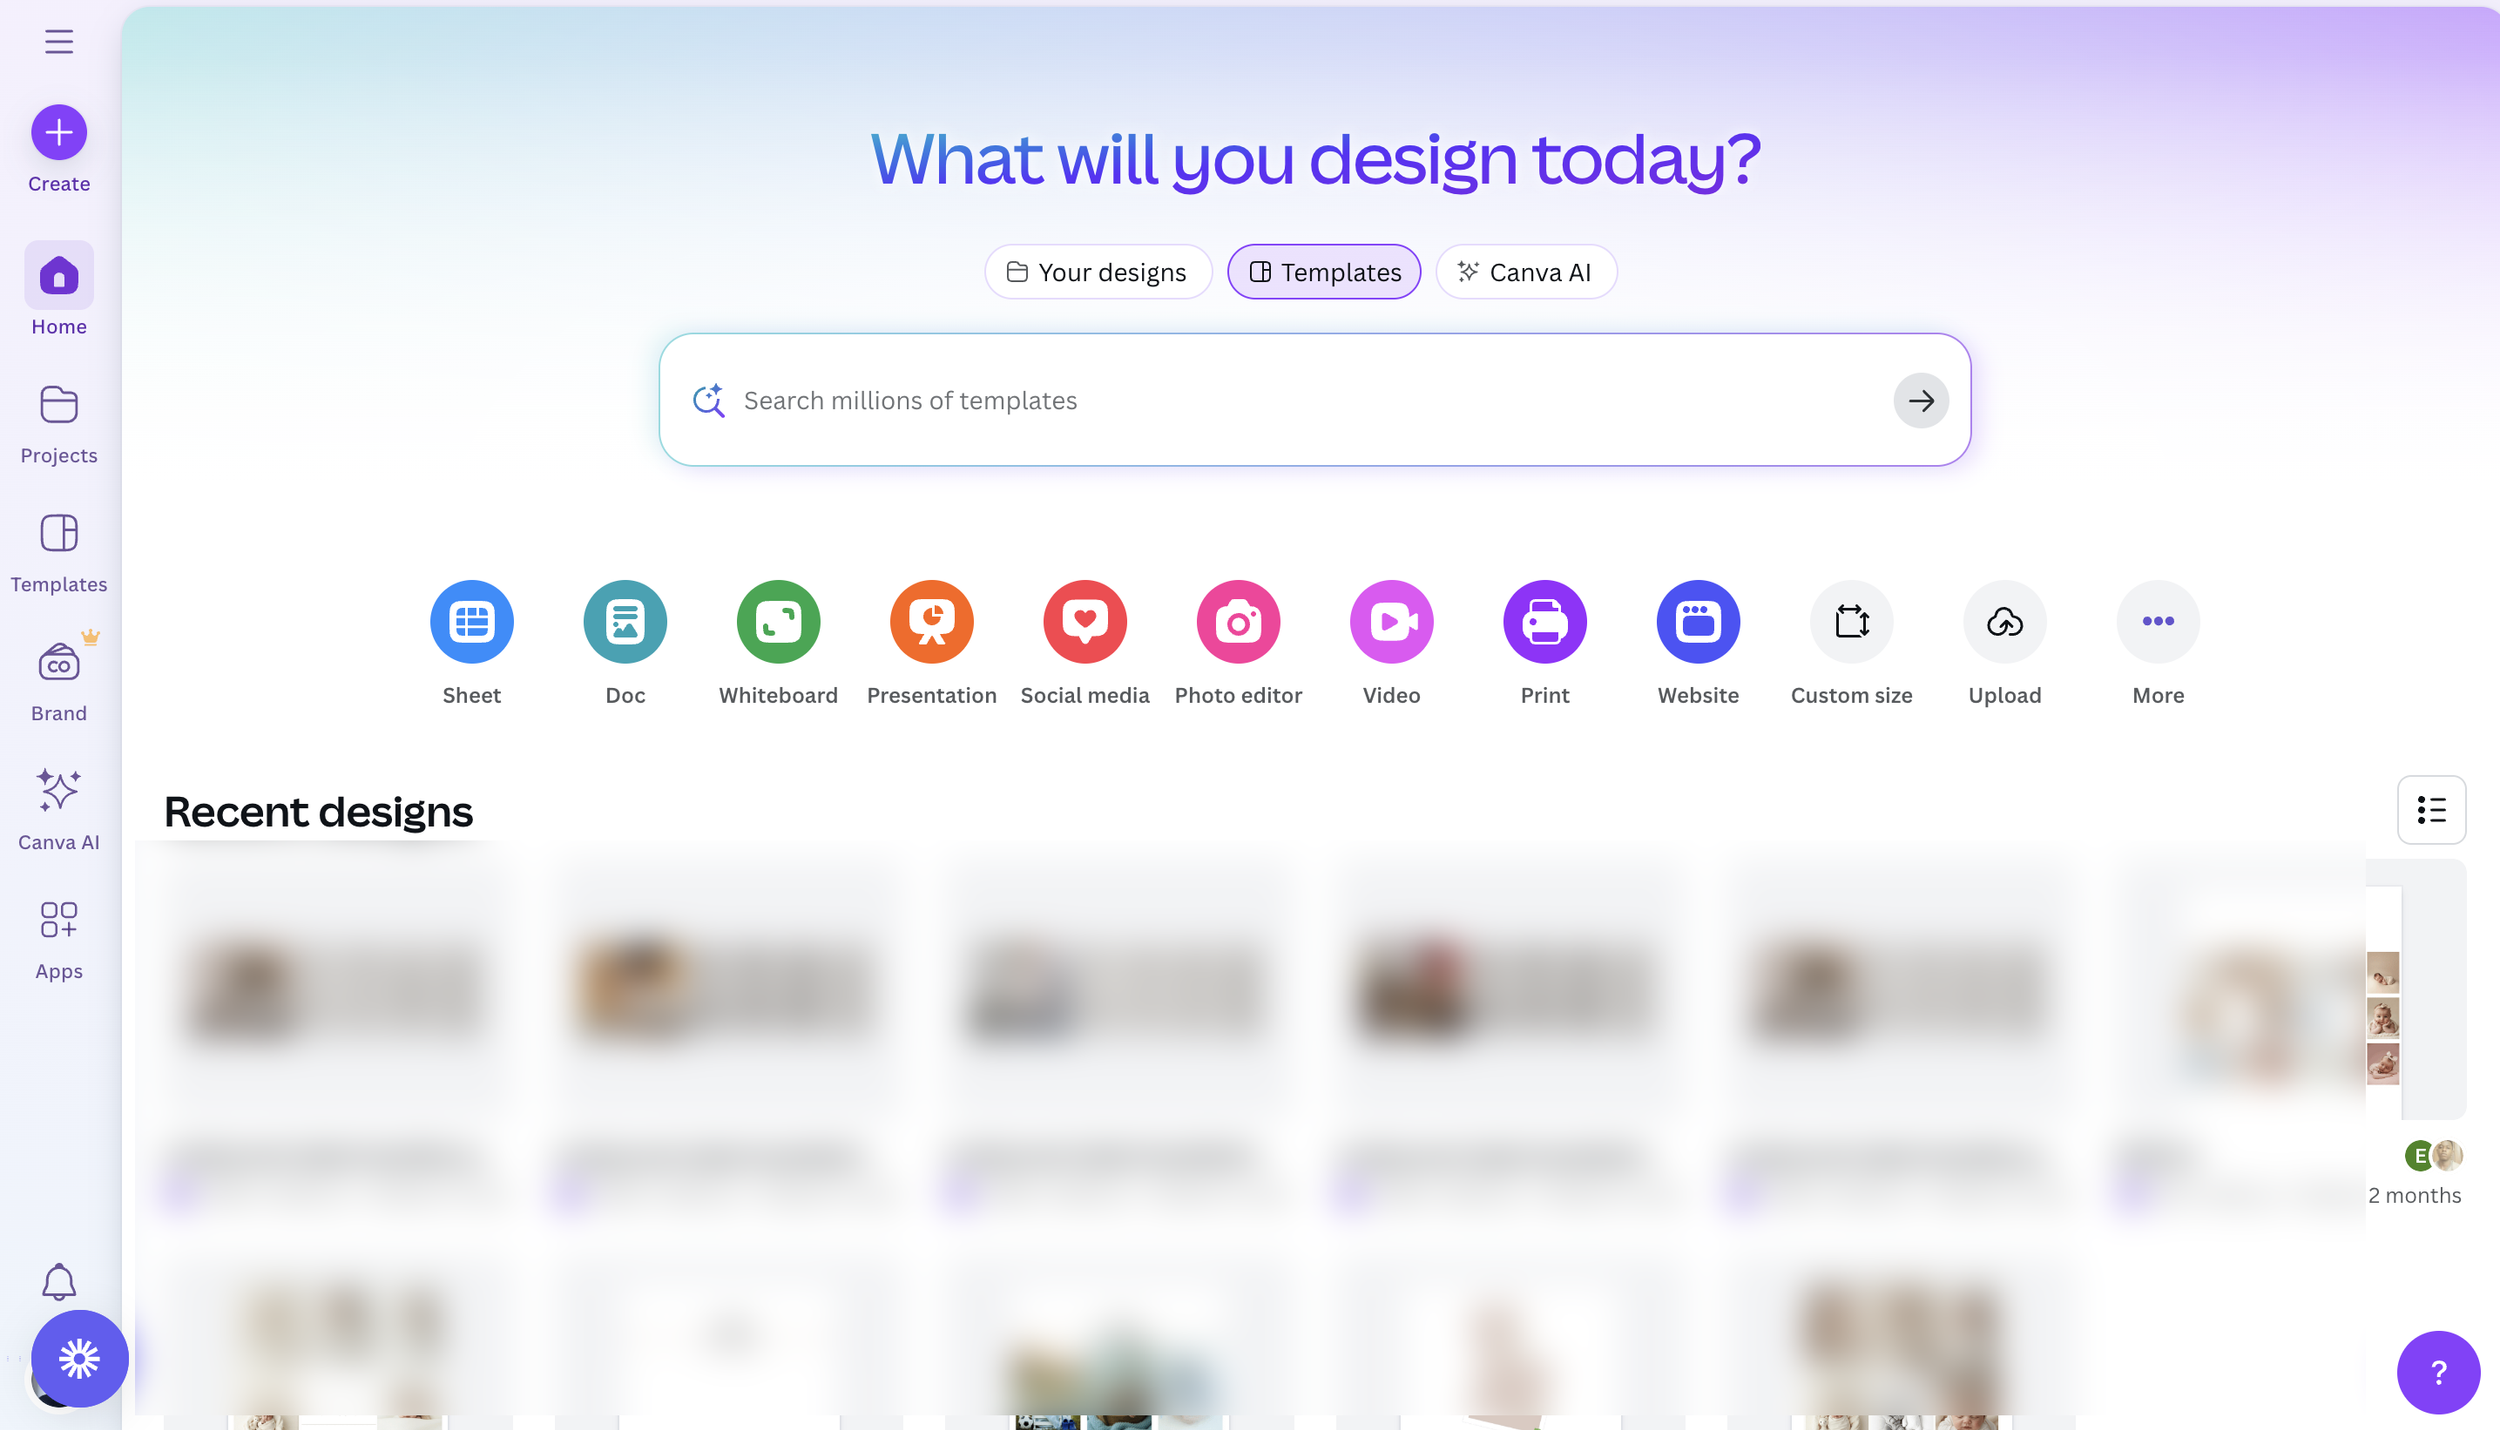
Step1: Create an Account in Canvas
Visit https://www.canva.com
Click “Sign up”
You can sign up with Google, email, or an Apple ID
After creating your account, you’ll be taken to your Canva dashboard
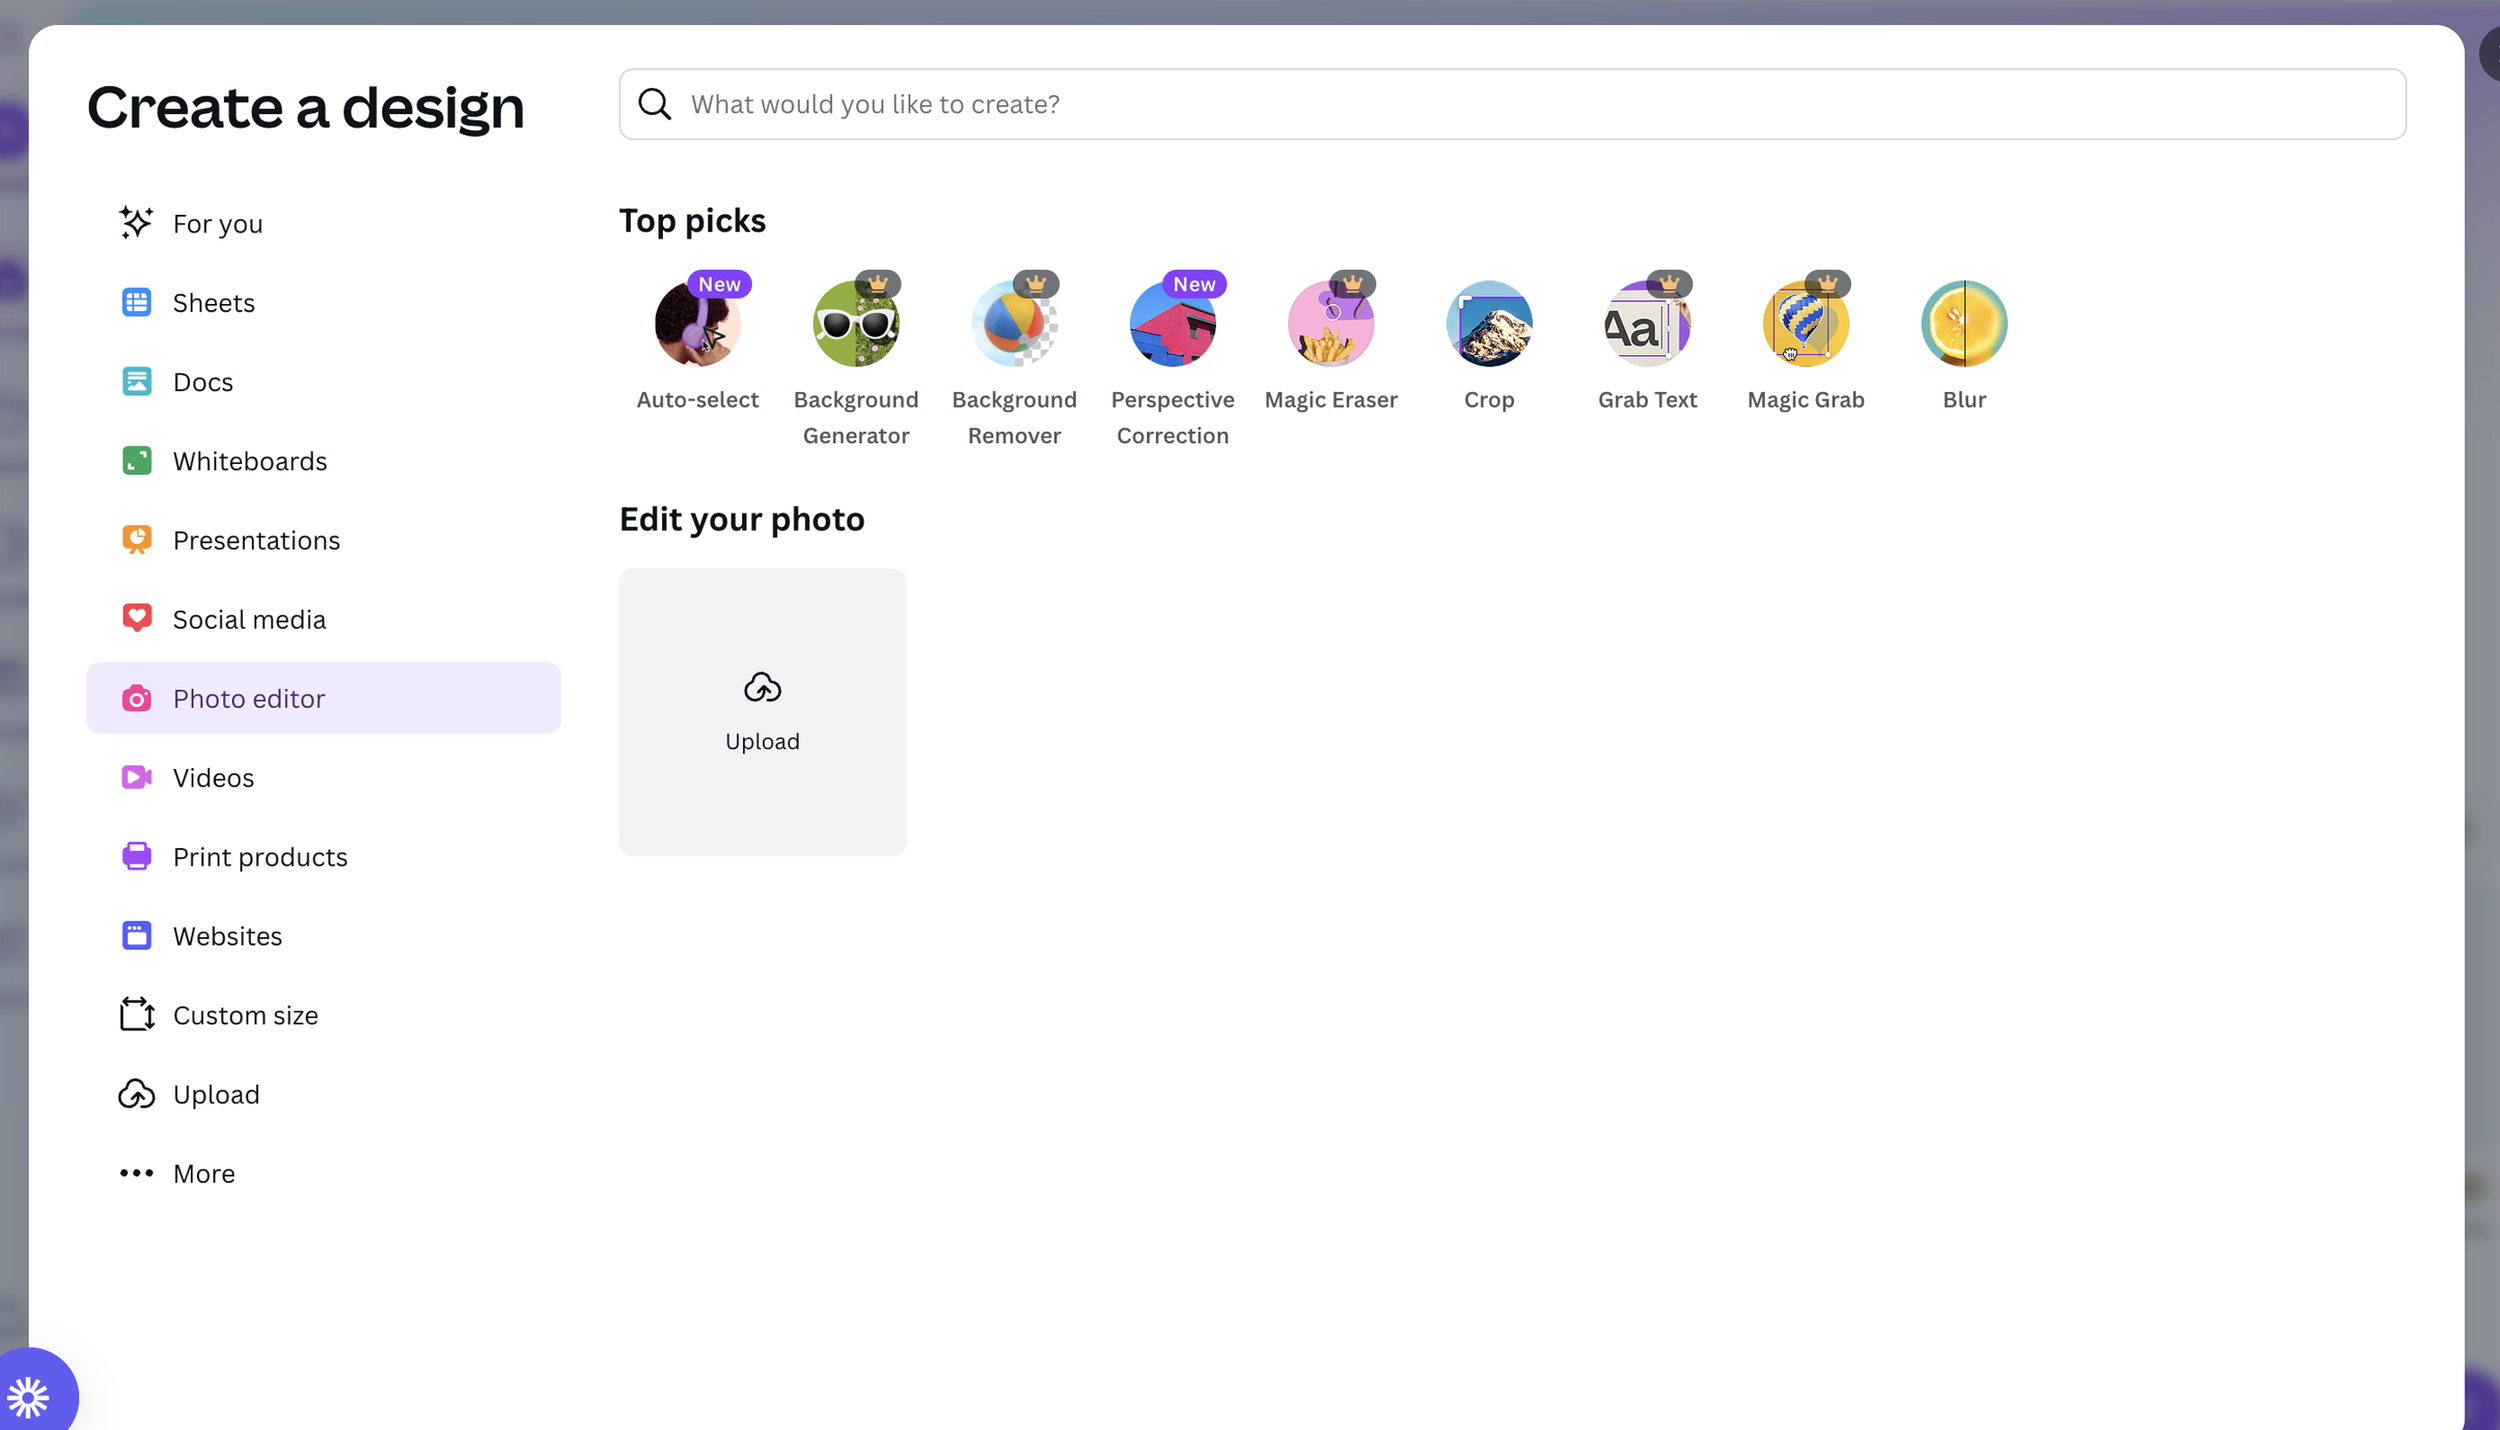
Step2: Click “Create a Design”
On the top-right, click the purple “Create a design” button
In the dropdown, scroll down and click “Photo Editor”
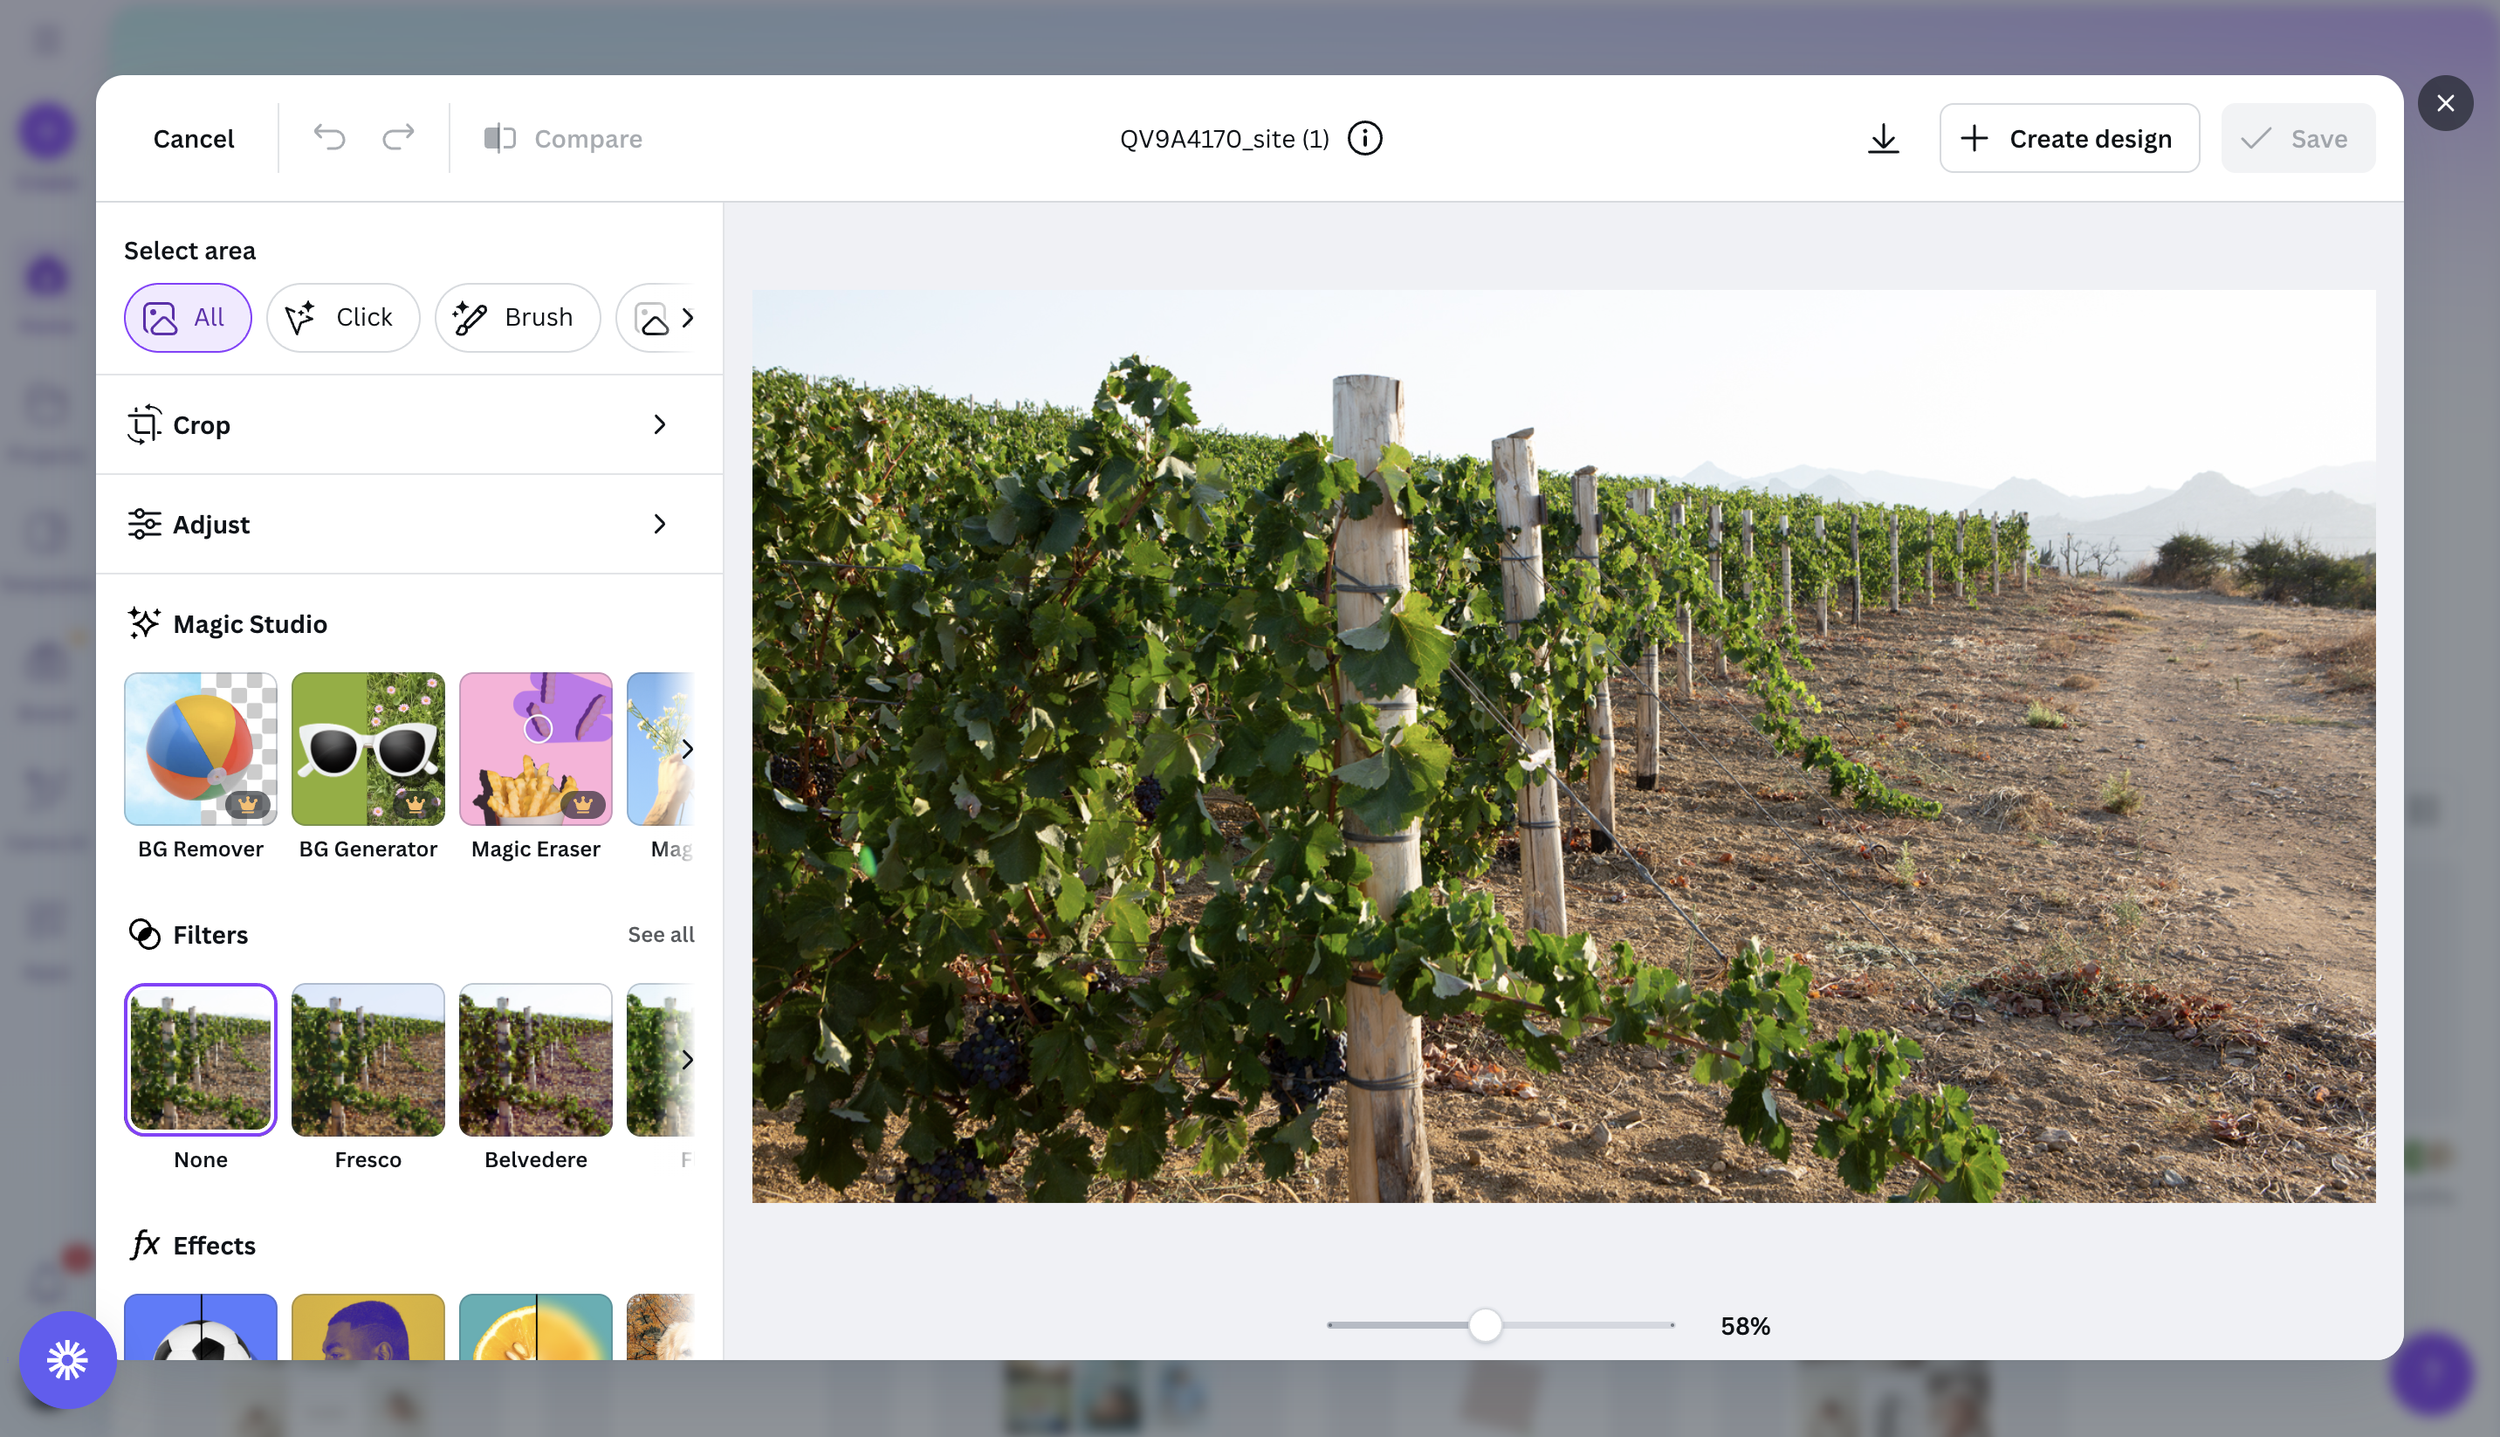
Step3: Upload Your Image
In the Photo Editor interface, click “Upload”
Select an image from your device
It will appear on the screen, ready to be edited
Press —> Create design
Step4: Re-size the image
On the left top you press resize.
You resize the images
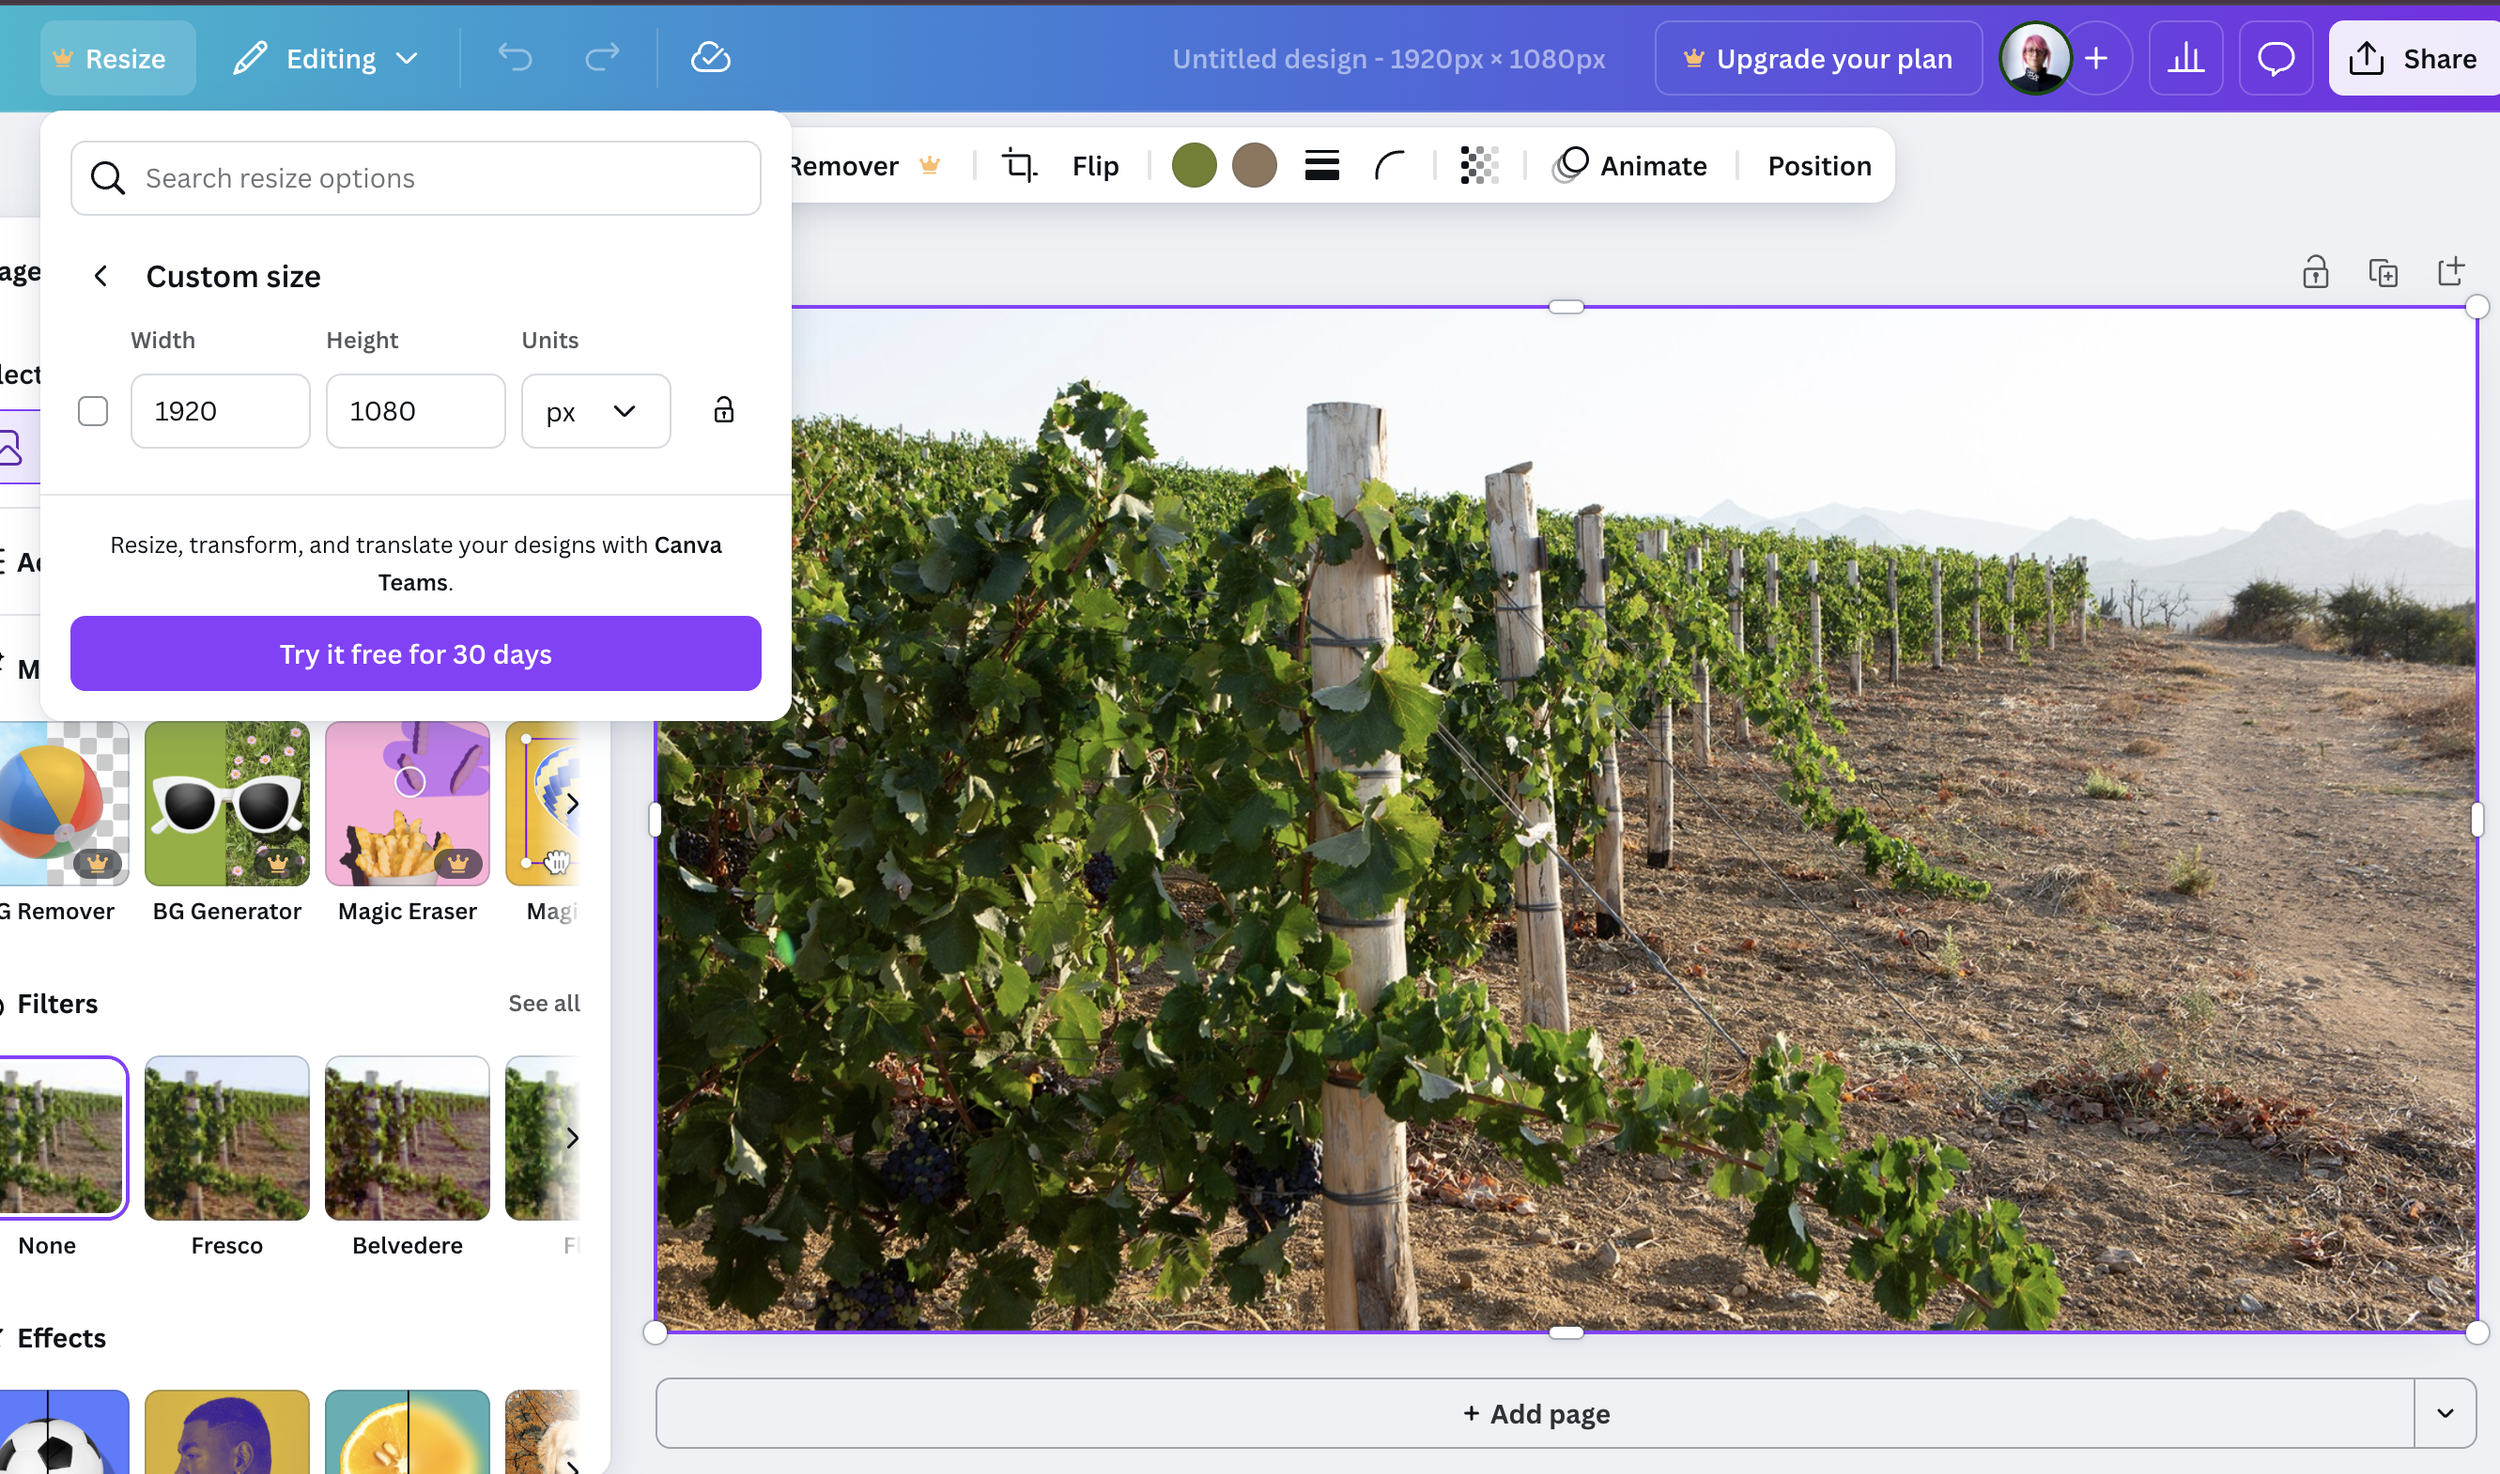
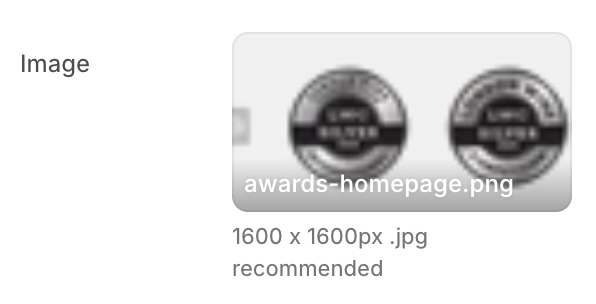
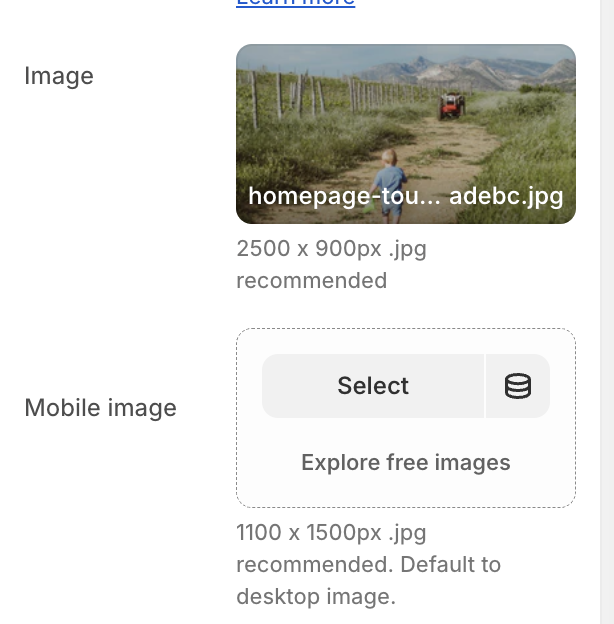
Sizes
Background Images: 2560 x 1440 pixels, 16:9 aspect ratio.
Hero Images - First image on each page: 1280 x 720 pixels, 16:9 aspect ratio.
Website Banners: 1200 x 400 pixels, 3:1 aspect ratio.
Blog Images: 1200 x 630 pixels, or 1200 x 800 pixels, 3:2 aspect ratio.
Galleries/Portfolios: 2000px on the longest side, or smaller for vertical images (e.g., 2000px width for horizontal, 1500px height for vertical).
There are always recommendations
Step5: Save and download
Download the image.
For better SEO
You save the image:
TerraGrazia-(page)-Number (or 1 word description).jpg

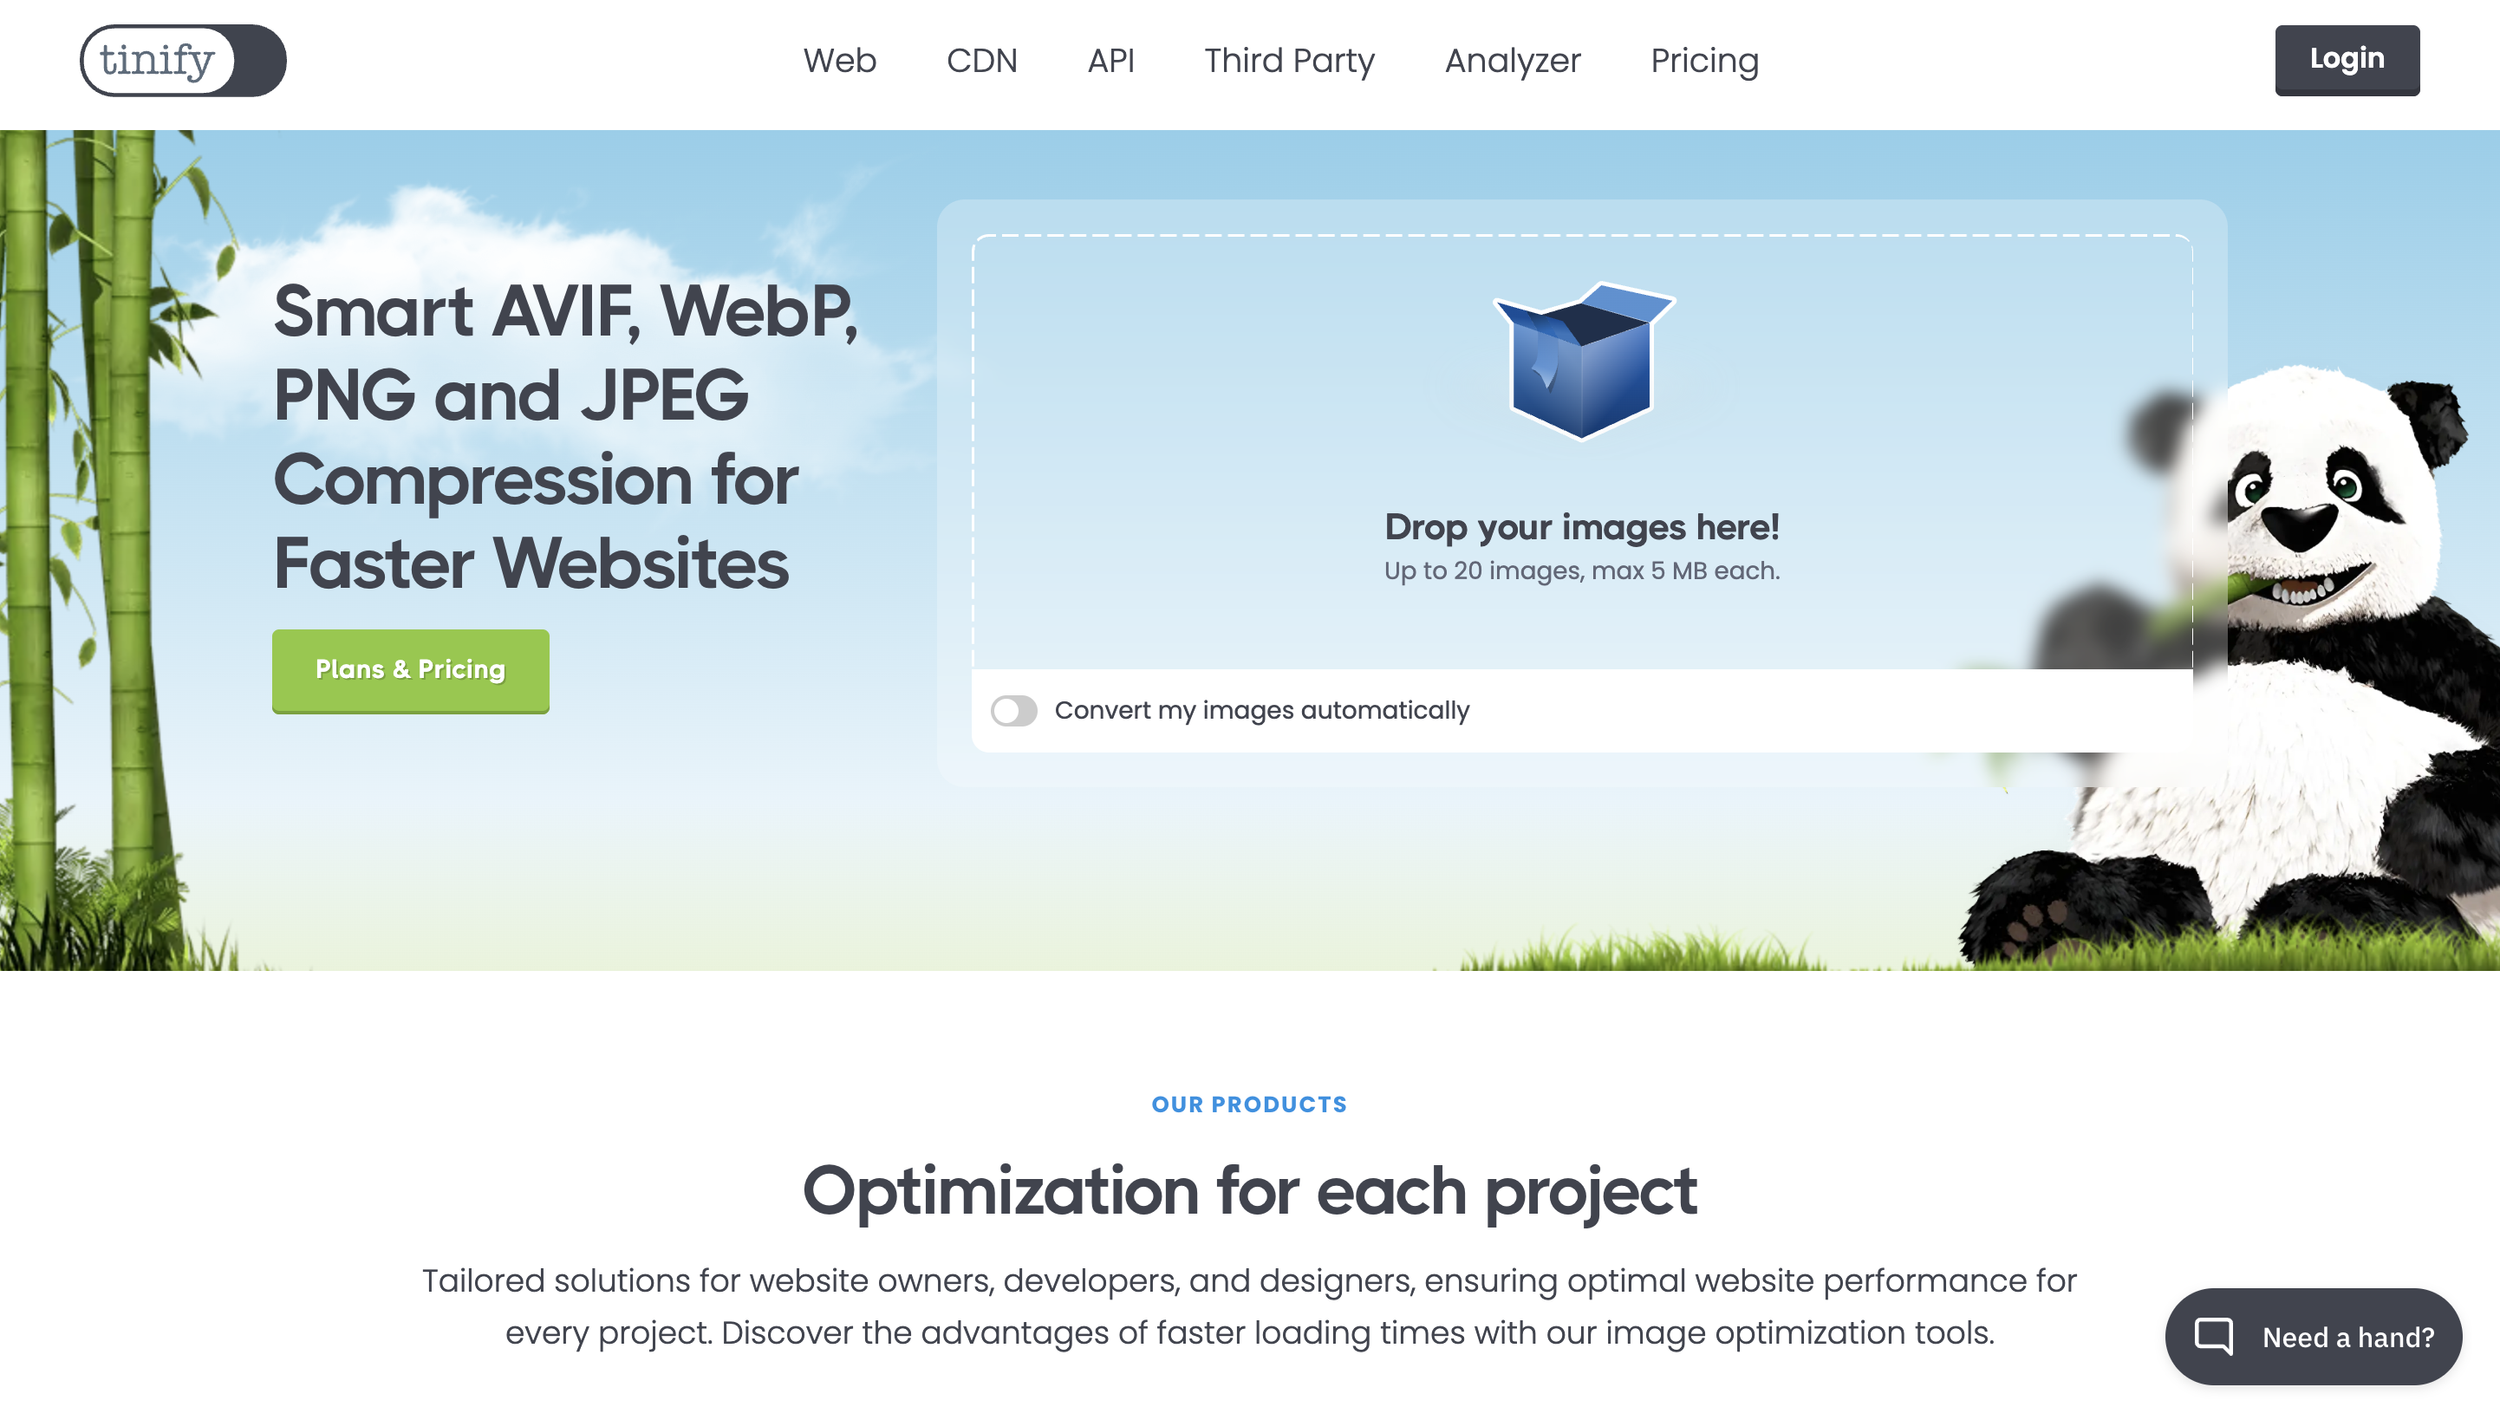
Step6: Making it for the web
You visit this free optimization website:
You upload the image, and it automatically optimizes it.
You wait for the procedure to be over.
You download the image.
You upload it to Shopify.